Quick Setup Wizard
Right after installing the MainWP Dashboard plugin, the Quick Setup Wizard will be initiated. It is designed to quickly walk you through MainWP Dashboard settings and optimize your MainWP Dashboard plugin for the best user experience.
If you don't want to go through the setup wizard, you can skip and proceed to your MainWP Dashboard by clicking the
Not right now button. If you change your mind, you can come back later by starting the Quick Setup Wizard from the
MainWP > Settings > MainWP Tools page!
Introduction
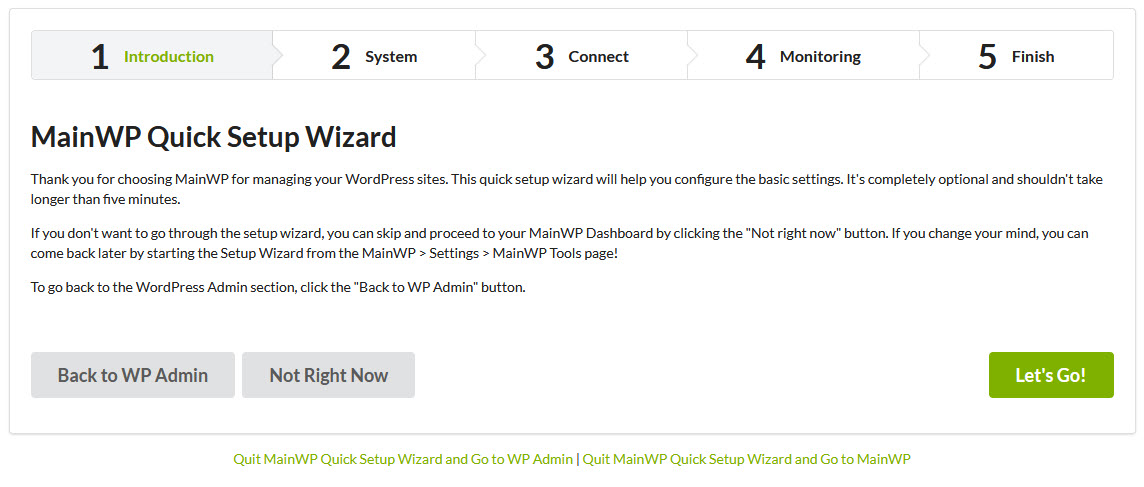 The first step welcomes you with a general note and an option to continue with the quick setup wizard or skipping it.
System
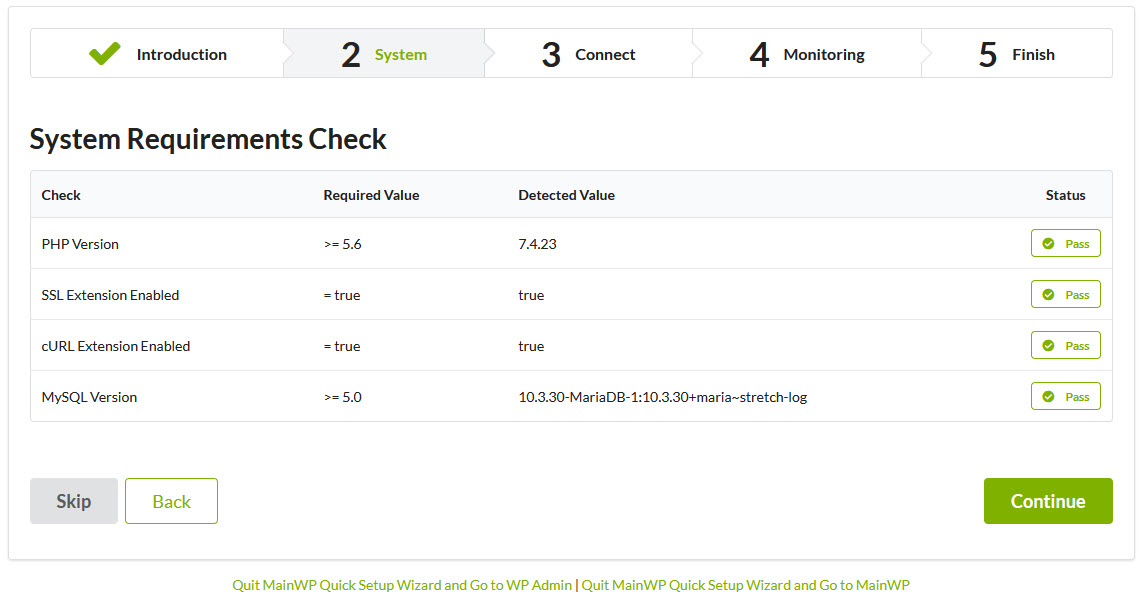 MainWP Dashboard will check the most critical server configuration settings. If any of the listed checks don't meet
MainWP System Requirements, it is HIGHLY recommended to
resolve the issue(s) before trying to connect your first child sites.
MainWP Dashboard will check the most critical server configuration settings. If any of the listed checks don't meet
MainWP System Requirements, it is HIGHLY recommended to
resolve the issue(s) before trying to connect your first child sites.
Connect
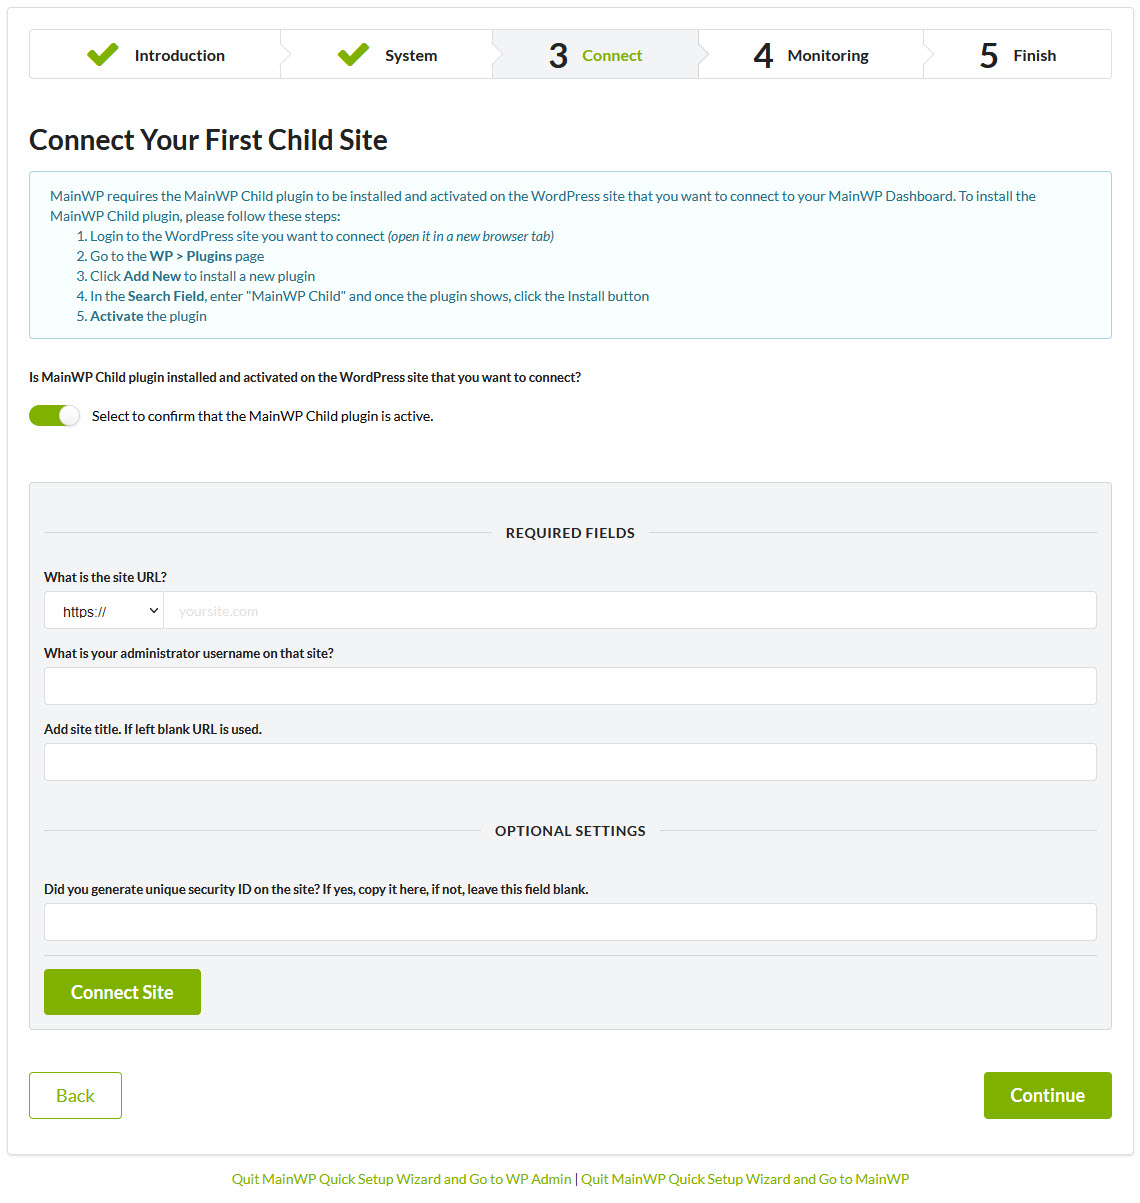 In case you want to start adding your sites in this step, or just one site to see how it works, the Connect Step allows you to do it.
- First, verify that you have the MainWP Child plugin installed on the website that you want to connect
- Once the Add Site form appears,
- Enter the site URL
- Enter the site Administrator username
- Enter the site Title
- And, if the Unique Security ID is enabled on the child site, enter the ID in the corresponding field
- Click the Connect button
- Repeat the process for all sites that you want to add.
- Once done, click the Continue button
Monitoring
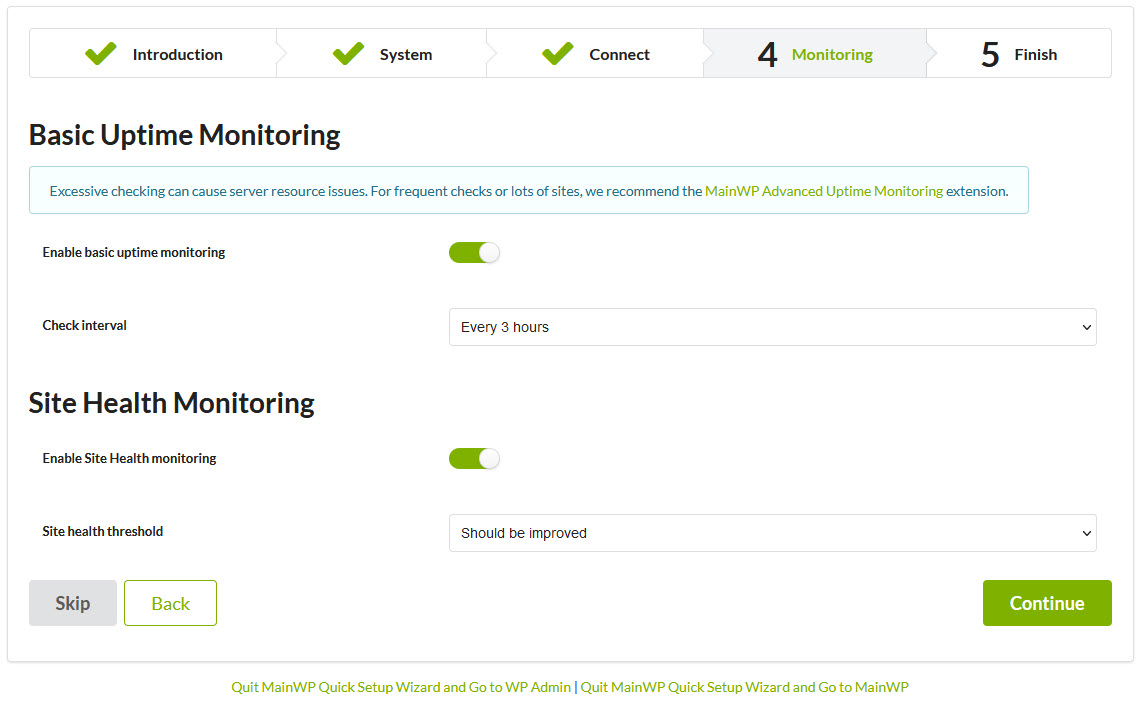 If you want to use the Basic Uptime and Health monitoring features to check your sites, here you can enable it and set how often to check.
Finish
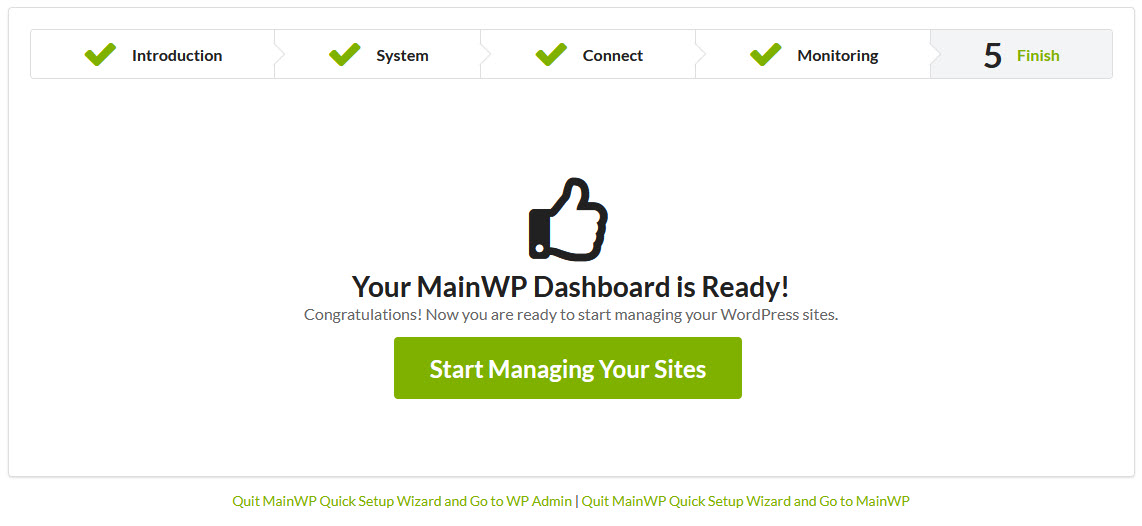 Congrats! Now, you can start using your MainWP Dashboard.
Important Note
The MainWP Quick Setup Wizard can be activated at any time from the MainWP > Settings > MainWP Tools page. If you are not sure about any of the options, you can always use the Skip this Step button. If you need to go back and tweak any of the options from previous steps, use the Back button.
Source Article:
https://kb.mainwp.com/docs/quick-setup-wizard/